blueberry cookies and a casual addiction

There’s this thing that happens when you’re a twenty-something girl who upgraded from a Blackberry to an iPhone about six months ago. Suddenly, everything becomes a bit… filtered.

Did you do a particularly awesome job wrapping your Christmas presents?

Christmas presents

Instagram it.

Are you totally bummed because it’s a gloomy January morning and your Americano didn’t come in a festive red cup?

Starbucks cup

Instagram it.

Did you bake cookies with your sister on her brand new KitchenAid stand mixer and forget your real camera at home?

brown sugar blueberry cookies

… you Instagram the hell out of those adorable little nuggets. What else is there to do?

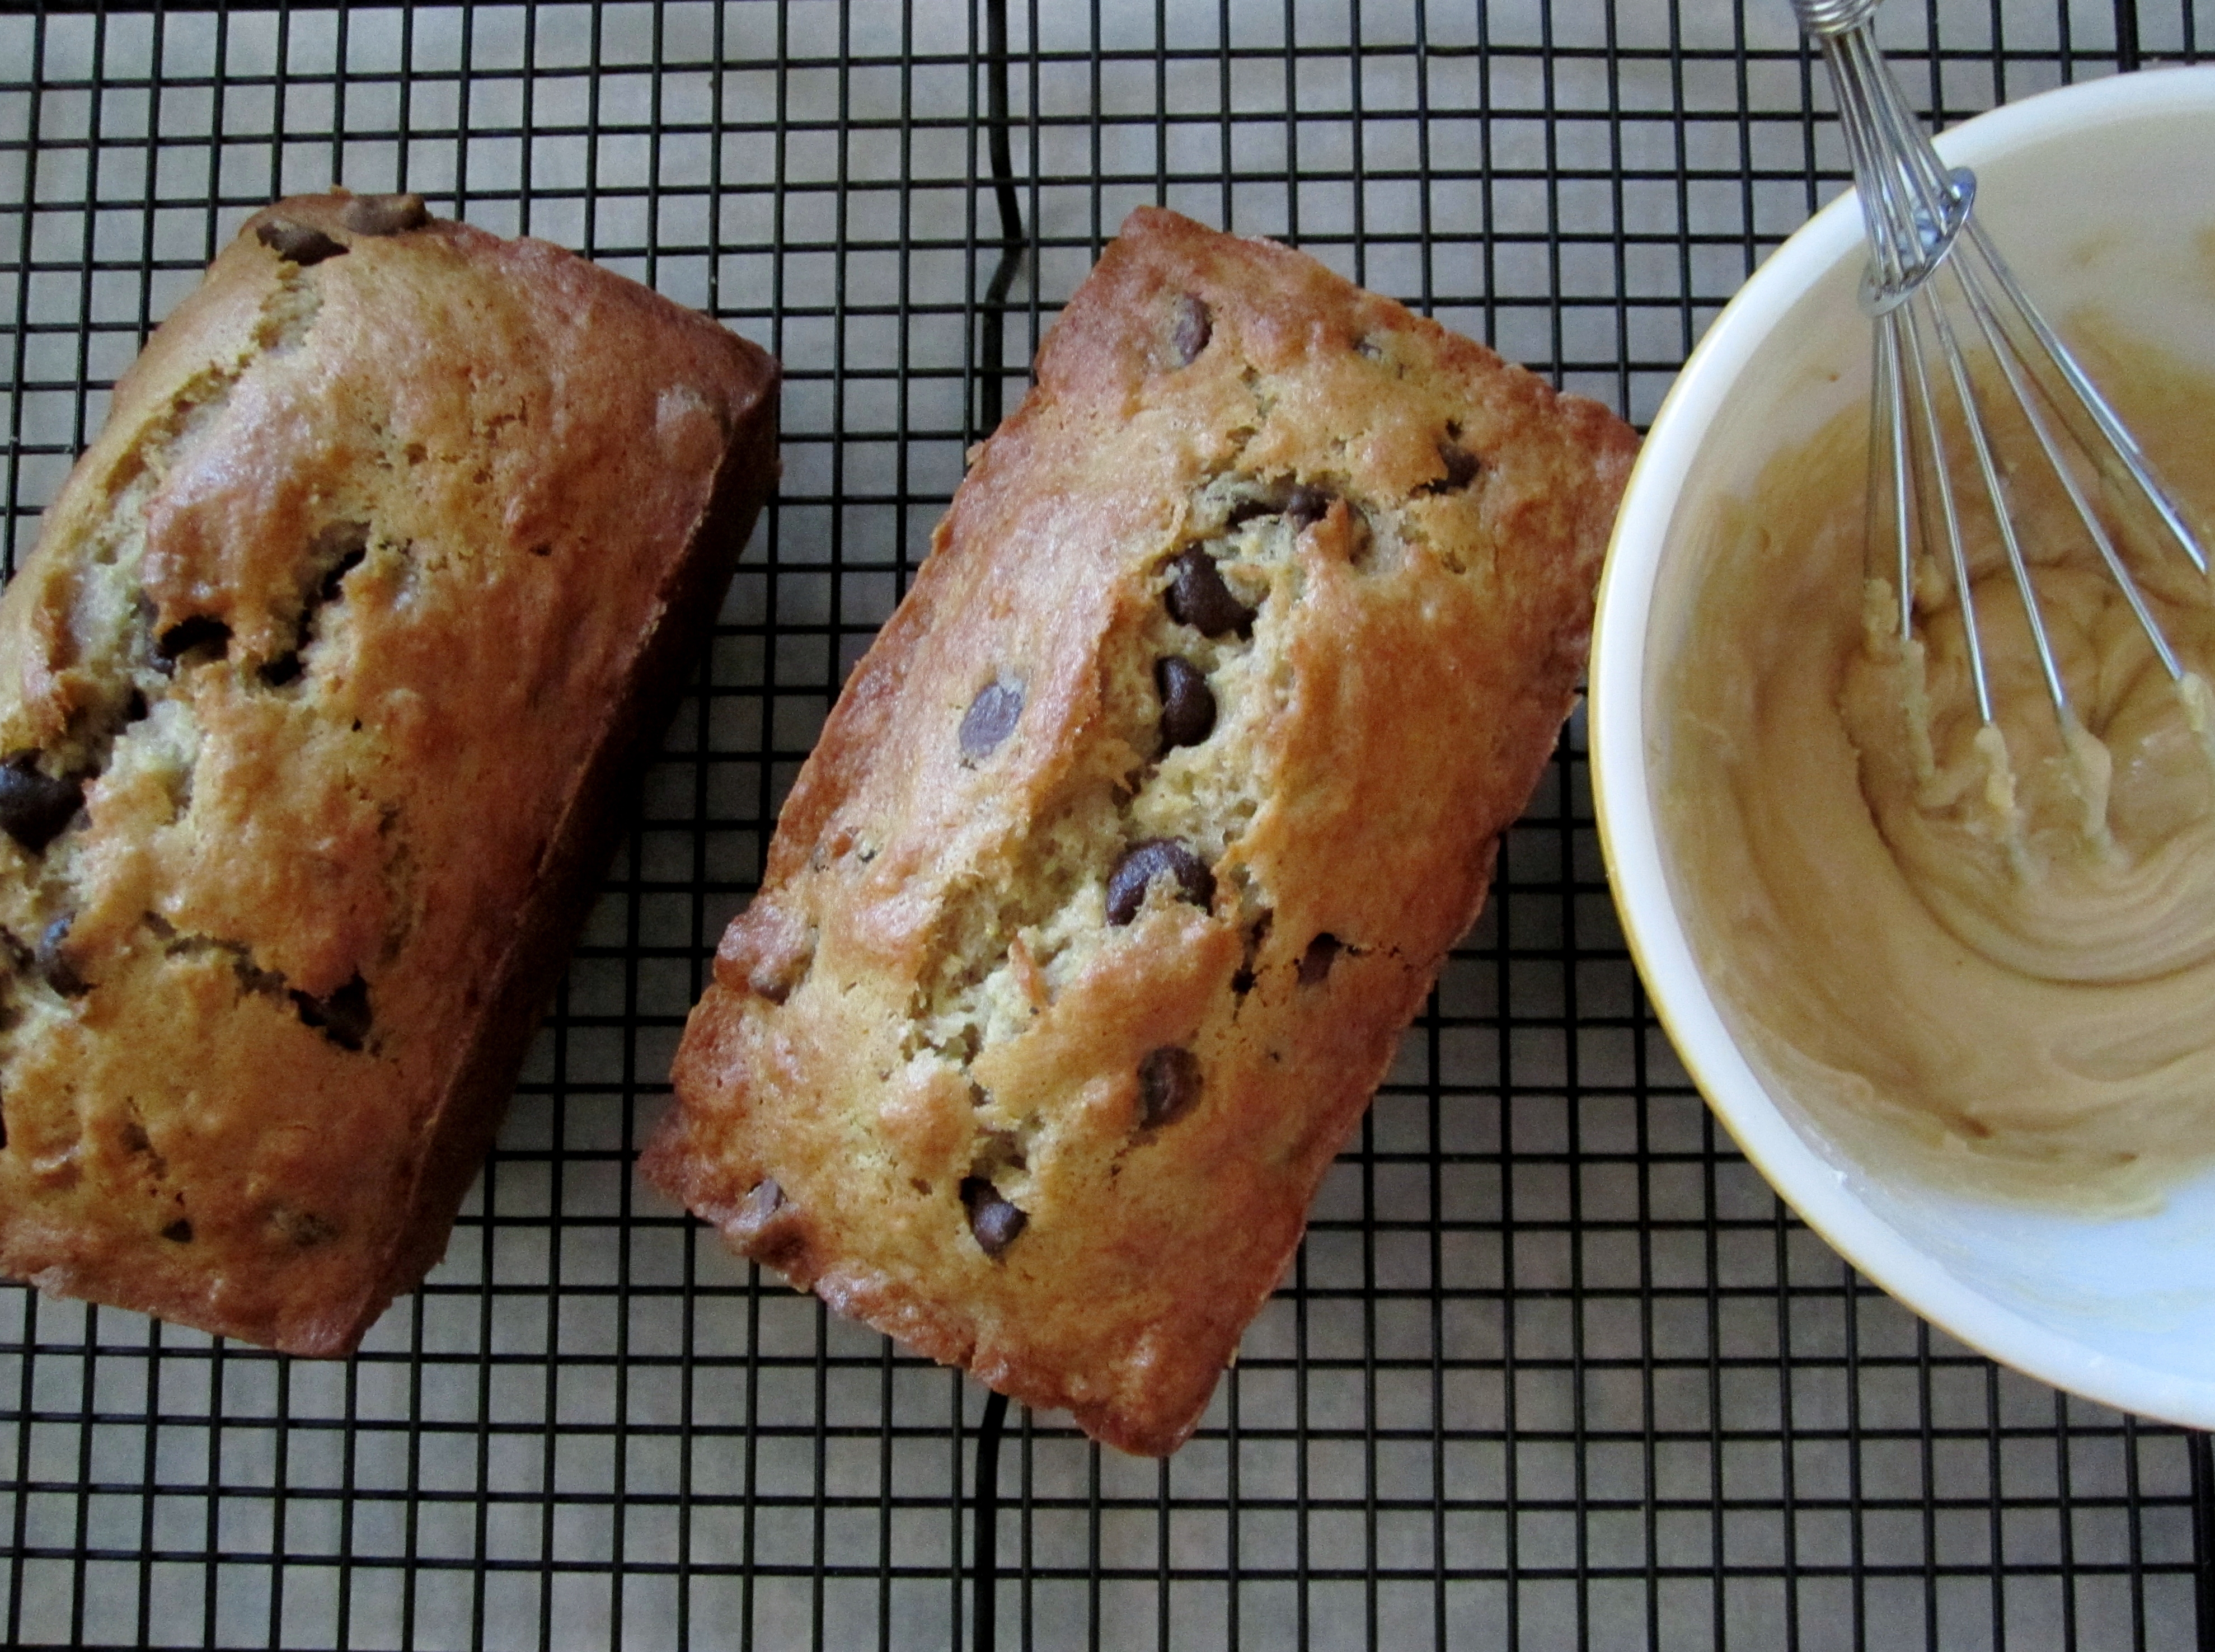
I won’t say I’m obsessed, especially compared to the addiction some of the friends I follow have clearly developed. But there’s just something about a square, antiqued photo of other people’s food that has my heart. And these little cookies are just so perfectly imperfect and homemade-looking, they were destined to be Instagrammed. Seriously, you can practically smell the warm cinnamon through the touchscreen.

This is less of a recipe post and more of a recommendation- my sister and broke in the stand mixer she got for her wedding by baking up a batch of brown sugar blueberry cookies from How Sweet It Is. My brother-in-law isn’t a fan of chocolate (I know, right??) so we wanted to find a recipe that even he couldn’t resist and boy, did we succeed.

We made them about half size just because we like our cookies adorable, but otherwise we followed the recipe just as Jessica wrote it, so head on over there for the recipe and have yourself a nice little drool-fest over her gorgeous photos. And then make them. You owe it to yourself, you really do.

These taste exactly like cookiefied blueberry muffins and I can’t really think of anything better than cookiefied muffins. I can’t wait to remix this recipe with different mix-ins and executions- the dough is ideal for nearly any big, soft, chewy cookie you want to make. And again, I dare you to think of anything better than big, soft, chewy cookies.

I think my favorite part of baking with my sister was being able to teach her things. She’s my big sister and I’ve followed in her footsteps in quite a few different ways – same university, partly the same major, same first job out of college – but in the kitchen, I have the chance to show her something new and it’s just so much fun. I can’t wait to come over and bake with her even more in the future, and not just because she’s the one with the big fancy Kitchenaid, I promise ;)

Advertisement

Chocolate Chip Banana Bread with Peanut Butter Icing

There are some winning combinations in the land of baked goods.

Bananas and chocolate? Yum.

Peanut butter and bananas? Count me in.

Chocolate and peanut butter? Of course.

All three? You’ve GOT to be kidding me.

Chocolate Chip Banana Bread with Peanut Butter Icing

I’ve been making this banana bread in some form or another for at least six years now; it was actually one of the first recipes I tried that got me into baking back in high school. Banana bread is the one banana food I love more than fresh bananas, but I have such a hard time keeping bananas around long enough to let them get overripe. I have to make it a point to buy a truly unreasonable amount just to have some left over after a week or so, but it’s always worth it.

Anyway, back to the indulgent triple threat that is this recipe. I know a recipe is good when someone takes that first bite, chews a bit, and I see their eyes go wide with that “what on earth did you just feed me and can I have all of it right now” look. That’s my favorite look. I got a very encouraging number of those faces with this bread, and I definitely had the exact same reaction.

Chocolate Chip Banana Bread

My favorite part of this bread is the top crust. I know it’s pretty typical to love the muffin tops and the brownie edges and everything, but this crust feels special – it gets really wonderfully crisp, not gooey like a lot of breads. I also really love how the lemon zest and cinnamon balance each other out, adding both warmth and a bit of zing, but nothing to detract from the stars of this show.

I usually make this bread in a standard full-size loaf pan, but I opted to split this batter into two mini loaves so I could have a “keep one, share one” situation. If you opt to make a single loaf, it will take a bit longer to bake (60 to 75 minutes) but nothing else needs to be changed.

Chocolate Chip Banana Bread

I kept the peanut butter icing off of the bread in the photos because I think it stores better separately – and because I like the option to slather my slice in as much peanut buttery goodness as I want. If you want to drizzle it on top, I’d recommend thinning the icing with a bit more milk.

Chocolate Chip Banana Bread with Peanut Butter Icing

1 and ½ cups all-purpose flour
1 and ½ teaspoons baking powder
¼ teaspoon baking soda
½ teaspoon salt
1 large egg
1 cup mashed overripe bananas
¾ cup sugar
3 tablespoons melted butter
1 heaping tablespoon lemon zest
½ teaspoon cinnamon
¼ teaspoon nutmeg
1 cup semi-sweet chocolate chips

¾ cup sifted confectioners’ sugar
2 tablespoons melted smooth peanut butter
2 tablespoons milk (more for thinner icing)
¼ teaspoon vanilla extract

For the bread:
Preheat oven to 350 F.
In a large bowl, sift together flour, baking powder, baking soda and salt.
In a separate bowl, lightly beat egg. Whisk in the banana, sugar, butter, cinnamon, nutmeg and lemon zest.
Add wet ingredients to flour mixture and stir just until combined. Fold in chocolate chips.
Spread batter in two greased and floured loaf pans. Run a toothpick or the tip of a butter knife along the batter, lengthwise if you’d like that photogenic center crack once it’s baked. Bake for 40-50 minutes, or until tops are golden and a toothpick comes out clean.
Cool for fifteen minutes in the pan before moving to a wire rack.

For the icing:
Combine the confectioners’ sugar, peanut butter, vanilla extract, and one tablespoon of milk and begin to whisk – add milk one tablespoon at a time until your icing is at the desired consistency. Drizzle over bread or store in an airtight container for icing slices individually.

Food Photography Shame and Jam-Striped Vanilla Bean Cookies

When I’m in the mood to try a new recipe, I play one of two games: one is “What Would Happen If…” and the other, which I tried on this day, is “What’s in the Pantry.” This past summer, I had an unused vanilla bean left over from The Night of the Awful Scones. (So bad! So very depressingly bad.) Since I completely abandoned that scone recipe, I had a vanilla bean without a home.

Vanilla bean jam stripes

I had recently seen a delicious-looking recipe for Jam Striped Lemon Cookies over at Clockwork Lemon, so I made it work for what I had at hand- vanilla beans, strawberry jam, and apricot preserves. While I did them in long strips and sliced them, I think this recipe would also work great as a thumbprint cookie. The cookie is really wonderfully light and buttery and the jam makes them just chewy enough for my liking. I also love that the recipe seems to be very adaptable – I’d love to try the original lemon cookie with raspberry jam, but it held up to my random flavor adjustments quite well.

IMG_3588

By the way, how about those photos, eh? The composition! The angles! The I-obviously-baked-these-well-after-sundown of it all! It hurts me too, trust me. I read/stalk enough other foodie blogs to know what a good cookie photo looks like and I’m not looking at any right now. I’m just taking solace in the fact that I know they’re bad photos. I once heard a very reassuring speech on creativity with a moral that was approximately the following: If you know you suck, at least that means you have taste. You just don’t have the skill to meet your own standards yet. So there’s that. I have style, I just can’t make it happen quite yet. To growth!

Jam Striped Vanilla Bean Cookies (slightly adapted from Clockwork Lemon)

Yield: about 40 inch-wide cookies

2 cups all-purpose flour
2/3 cup sugar
½ teaspoon baking powder
1 split and scraped vanilla bean
¾ cup softened butter
1 large egg
1 and ¼ teaspoons vanilla extract
Jam of your choice

Stir together flour, sugar and baking powder. Beat in the butter, egg, vanilla bean, and vanilla extract until dough comes together. Divide the dough into 4 equal-sized balls, cover in plastic wrap and chill in the refrigerator 15-20 minutes.
Preheat the oven to 350 F. Cover two baking sheets with parchment paper.
Working with one ball at a time, knead and squeeze the dough into a rope 12”-13” long. Place on the parchment and flatten into a strip about one inch wide. Repeat with other balls of dough. Using your fingers, make a depression down the center of each strip. Use your fingers to pinch the edges into a wall that can hold the jam, being careful not to make the bottom too thin to hold the jam after baking.
Fill the channel with jam. Bake for 15-20 minutes, until edges are slightly golden.
Slide parchment from the baking sheets and slice cookies diagonally while they are still warm.